There’s something almost meditative about assembling a Buddha bowl. Whenever I find myself craving a meal that feels as good to create as it does to eat—colorful, wholesome, endlessly customizable—I turn to this dish. It’s as much about the process as the result: choosing ingredients that delight the senses, preparing them with care, and layering everything together into a bowl that’s as beautiful as it is satisfying.


What Is a Buddha Bowl?
A Buddha bowl is a generous, rounded dish—usually a bowl—brimming with an array of plant-based ingredients. It’s named after the way the contents mound up, reminiscent of the rounded belly of Buddha. For me, the Buddha bowl embodies balance: a harmony of flavors, textures, and nutrients.
Typically, a Buddha bowl includes:
- Greens (raw or lightly wilted)
- Grains or starchy vegetables
- Proteins (often plant-based, like tofu or beans)
- Crunchy or pickled vegetables
- A drizzle of dressing or sauce for richness
But the beauty is in the flexibility—each ingredient can be swapped or adapted to suit your taste, season, or dietary needs.
Choosing My Favorites
As I gather ingredients, I focus on variety, both for nutrition and pleasure. These are some of my favorites for this bowl:
Brown and White Rice
The base of the bowl is usually a carbohydrate-rich grain like white rice or brown rice. I like to mix them to add variety of texture.
Sliced Avocados
Nothing quite matches the creamy texture and subtle flavor of ripe avocado. I slice it and place it across the bowl for a pop of verdant green. Avocado is rich in heart-healthy fats and brings a soothing note that balances the sharpness of other ingredients.
Boiled Garbanzo Beans (Chickpeas)
Chickpeas are my go-to for plant protein. They’re tender, nutty, and incredibly versatile. I often boil dried chickpeas myself for maximum flavor and texture, though canned work well in a pinch. Tossed with a dash of sea salt and olive oil, they anchor the bowl and provide lasting energy.
Red Onions
For crunch, color, and a touch of heat, I slice red onions, sometimes, I pickle them quickly in lemon juice to mellow their bite and add brightness. Red onions are loaded with antioxidants and offer a satisfying contrast to softer ingredients.
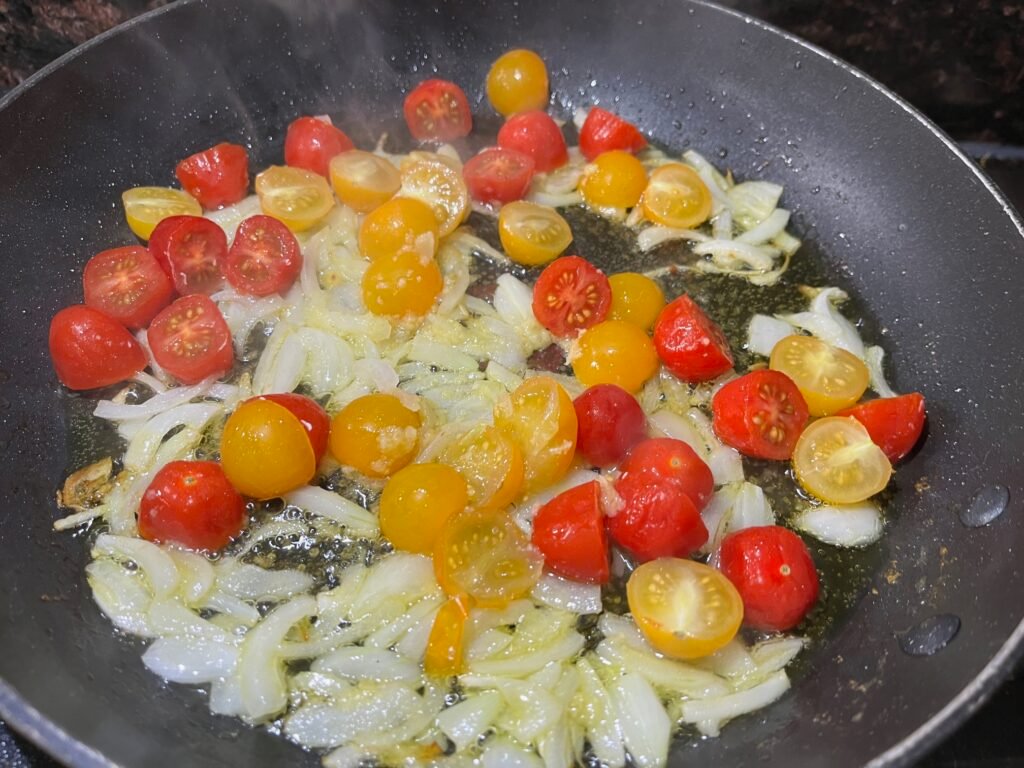
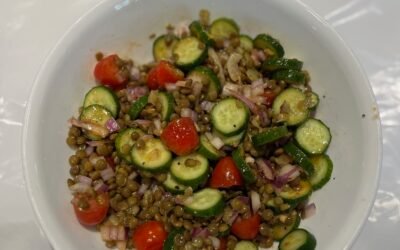
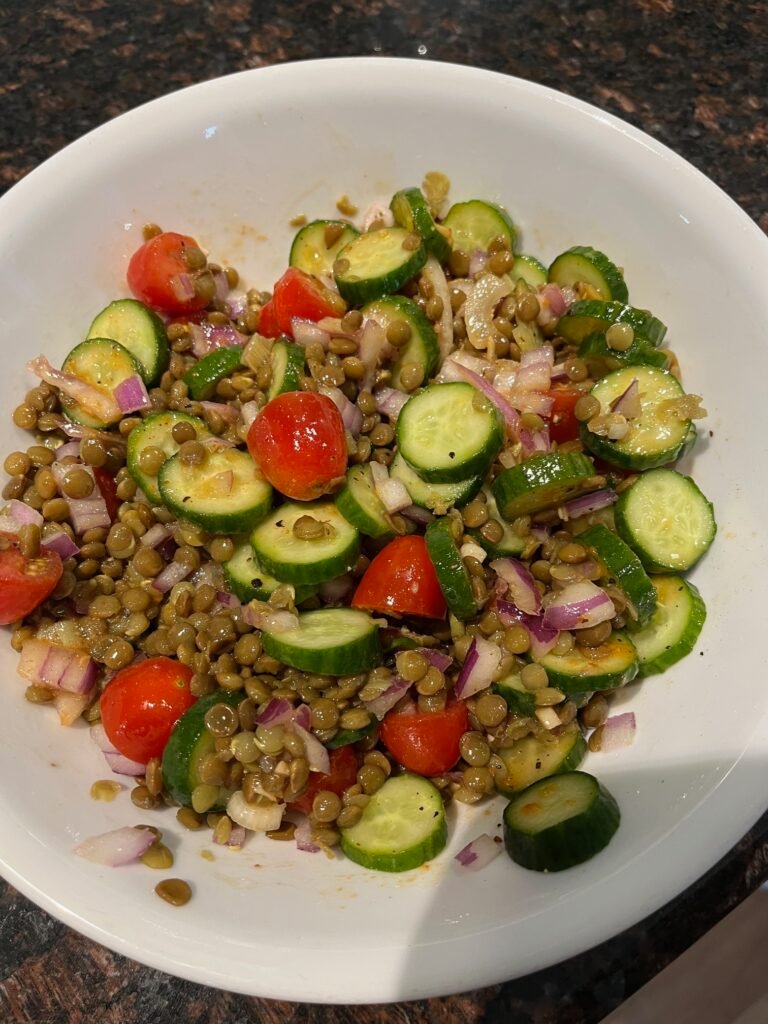
Cherry Tomatoes
For sweetness, tang and color. It boosts the nutritional value of the dish with a good dose of Vitamin C.
Pan-Seared Tofu
Tofu is a marvel—mild on its own but a sponge for flavor. I press firm tofu to remove excess water, then slice and pan-sear it until golden and crisp on the edges. A splash of soy sauce, ginger, or sesame oil turns it into an umami-rich addition. Tofu adds both protein and substance, making the bowl filling.
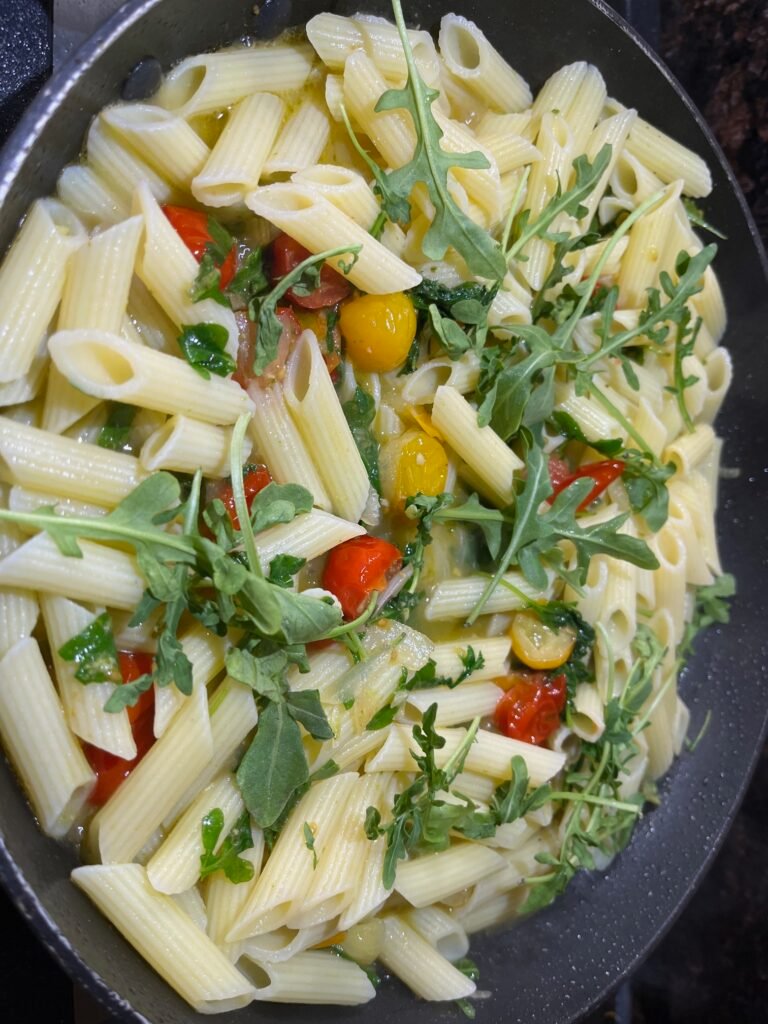
Arugula Leaves
Arugula is my green of choice: peppery, fresh, and slightly bitter, it wakes up the palate. Its delicate leaves cushion heavier ingredients and add a lively snap. Arugula is high in vitamins A and K, and it brings a lightness that defines the bowl.
Charred Eggplant and Yogurt Drizzle
A dollop of plain yogurt introduces creamy tang and a gentle cooling effect. This is my secret ingredient – a smoky, dense dip/drizzle made by roasting or charring eggplant and blending it with olive oil, garlic, lemon and yogurt. It infuses the bowl with depth and complexity, bringing all the flavors together. Eggplant’s smoky sweetness is irresistible, and as a topping, it truly elevates the dish.
Steps Involved: Assembling My Buddha Bowl
Here’s how I bring all these ingredients together for a meal that’s as delightful to prepare as it is to devour:
The Rice Base
I start with a mix of white and brown rice, cooked separately and then mixed a generous handful of arugula leaves, rinsed and patted dry. These form the fresh, crisp foundation of the bowl.
Cook the Proteins
For the tofu, I slice a block of firm tofu and pat it dry. Heating a nonstick pan over medium-high, I add a touch of oil and sear the tofu on both sides until golden. A splash of soy sauce or a sprinkle of sesame seeds at the end enhances its flavor.
Chickpeas—if using canned, drain and rinse them well. If using dried, I soak overnight and boil until tender. I season them lightly with salt and pepper.
Prepare Crunchy and Creamy Additions
I slice red onion, sometimes letting it sit in lemon juice for ten minutes. Avocado is sliced just before serving to keep it fresh and green.
Make the Charred Eggplant -Yogurt Dip/Drizzle
I roast or grill a small eggplant until the skin is blackened and the flesh soft. Once cooled, I scrape out the charred skin and blend the flesh by hand with a splash of olive oil, minced garlic clove, and lemon juice until smooth and then add the yogurt and mix. Season with black pepper and salt.
Assemble the Bowl
I like my Buddha bowl to be neat and organized so I arrange it to display all ingredients clearly. I arrange the Arugula leaves, tofu slices, spoon in the chickpeas, nestle the avocado fans, and the onions. Finally, a dollop of the Eggplant- yogurt dip.
Final Touches
A sprinkle of sesame seeds, a crack of black pepper, or a dusting of smoked paprika—these little flourishes add even more flavor and color. Sometimes I add a handful of sprouts or microgreens for extra crunch.
Enjoying the Bowl
I love that every bite is a little different. The creamy avocado, crisp tofu, tart onions, and smoky drizzle combine in endless variations. The Buddha bowl is more than a recipe—it’s a ritual, a celebration of good food and mindful preparation.