


0 Comments
From Rome With Love
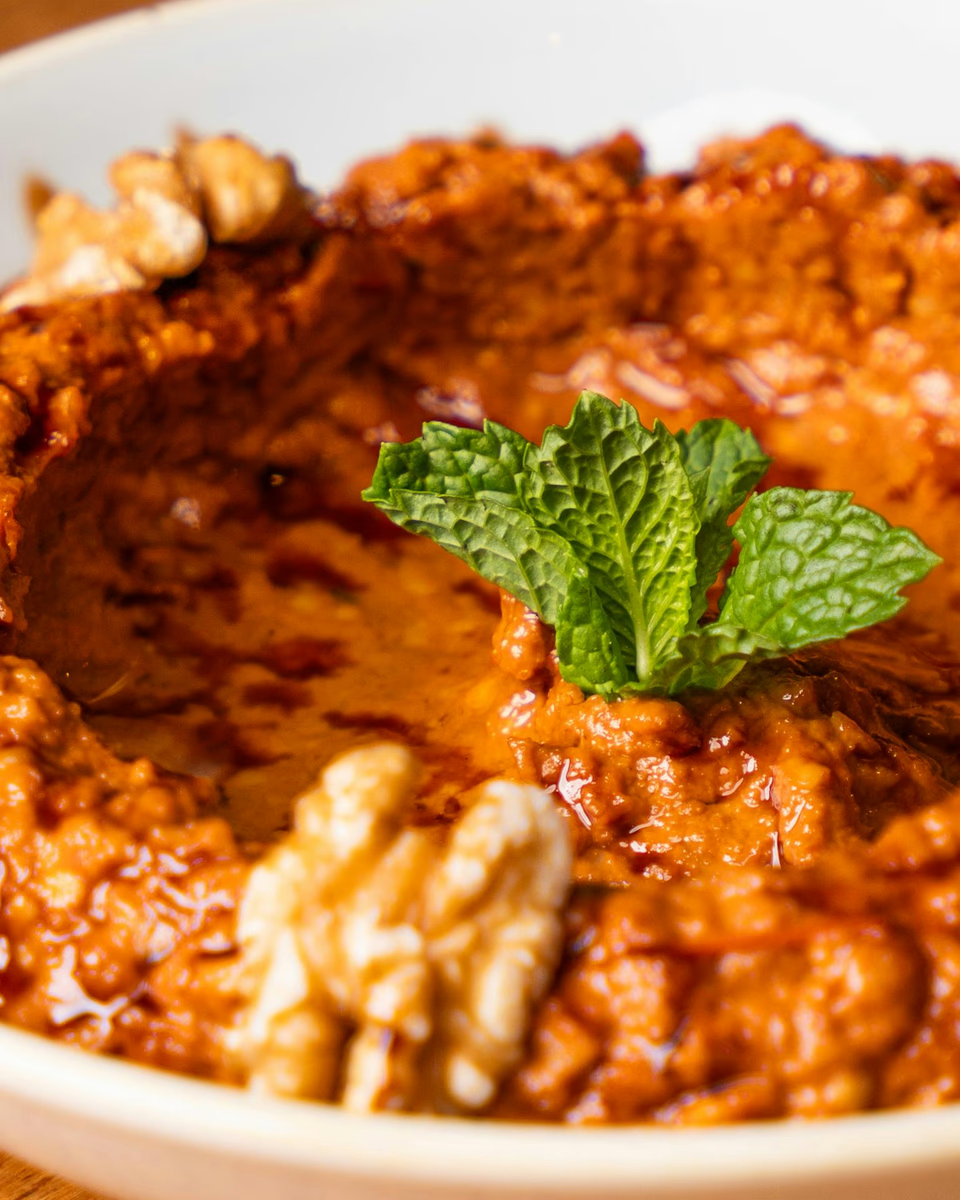
It was an autumn evening in Rome, after I’d spent hours circling the Coliseum, soaking […]
0 Comments
Shrimp Étouffée
The most memorable moment about my trip to Louisiana was the photo I took with […]
Featured Recipes
Cashew Cardamom Oatmeal Raisin Cookies
Green Bean Stir Fry
A Delightful Yogurt Fruit Dip for a Summery Treat
Greek Lentil Salad
About Me
I am Anu,
Welcome to my kitchen! I am Anu, a resident of suburban Chicago and a highly involved foodie. I have created this blog to honor and remember the wonderful home chefs in my life who enriched me with their love and home-cooked food, and inspired me to do the same. When not dreaming of new recipes and thinking of healthier substitutes, I am traveling with my husband to different countries.
Popular Categories
Breakfast
Salad
Lunch
Dinner
Dessert
Vegeterian
SIGN UP FOR EMAIL UPDATES
Never miss a new recipe
My recipes are rooted in tradition, stirred by memory, and spiced with discovery. If you love cooking with intention and curiosity, you’ll feel right at home here.

How To, Tips & More


Follow Us
Get Our
New Cookbook!

Journey Through Taste
From bustling street markets to quiet countryside kitchens — these recipes are inspired by real journeys across the globe. Join the adventure and follow along for a taste of the world, one recipe at a time.
The Recipes to Remember